Be sure to bookmark this page for future reference.

Supplies
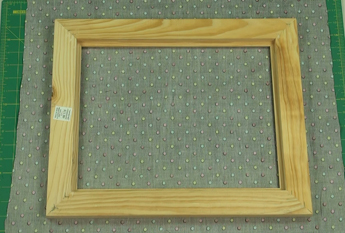
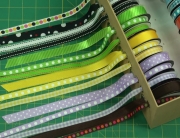
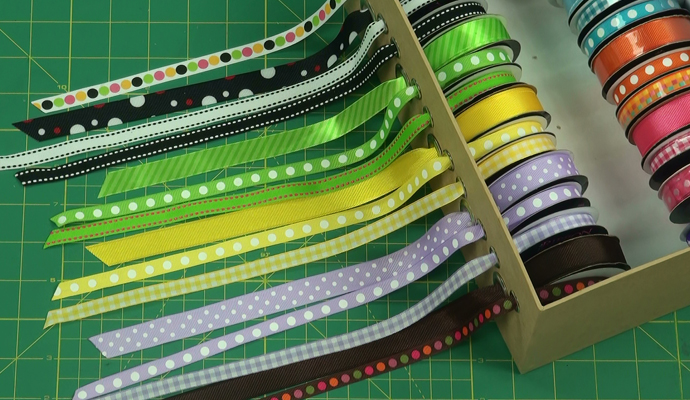
Prepare the needed supplies to make a Bow Holder. 14″ x 18″ wooden picture frame, 16″ x 20″ piece of fabric, 1 roll of 7/8″ ribbon.
Prepare the needed supplies to make a Bow Holder. 14″ x 18″ wooden picture frame, 16″ x 20″ piece of fabric, 1 roll of 7/8″ ribbon.
Step 1
Lay the fabric upside down on a flat surface. Place the wooden picture frame upside down on top of the fabric.
Lay the fabric upside down on a flat surface. Place the wooden picture frame upside down on top of the fabric.

Step 2
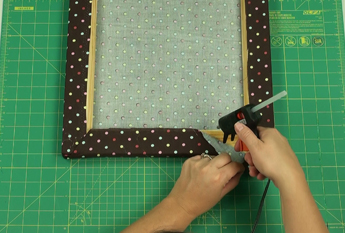
Apply a layer of glue to the back side of the wooden frame with a hot glue gun. Fold the fabric up and secure it to the frame. Repeat these steps for the remaining sides.
Apply a layer of glue to the back side of the wooden frame with a hot glue gun. Fold the fabric up and secure it to the frame. Repeat these steps for the remaining sides.
Step 3
Fold the corners of the fabric in and pull the fabric over the wooden frame.
Fold the corners of the fabric in and pull the fabric over the wooden frame.
Step 4
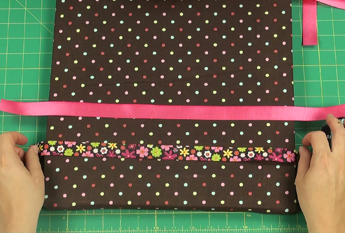
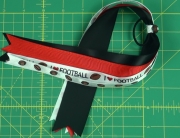
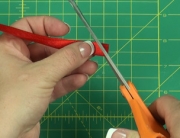
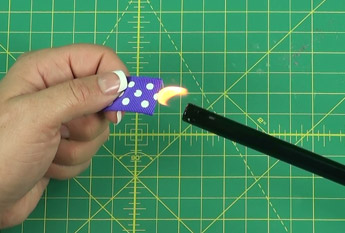
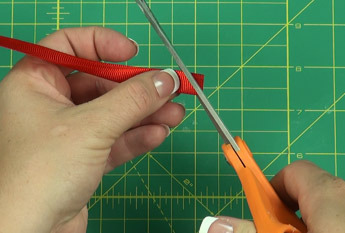
Take the ribbon and cut seven strips that measure in length approximately three to four inches past each end of the frame.
Take the ribbon and cut seven strips that measure in length approximately three to four inches past each end of the frame.

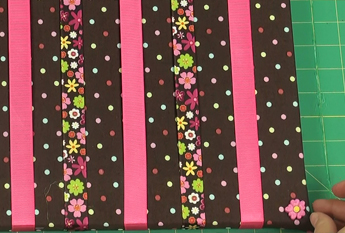
Step 5
Line up the ribbon strips upside down and place the frame on top. Each strip should be placed 1 2/8″ apart from each other. Use a ruler on the inside of the frame to mark where the ribbons should be attached.
Line up the ribbon strips upside down and place the frame on top. Each strip should be placed 1 2/8″ apart from each other. Use a ruler on the inside of the frame to mark where the ribbons should be attached.
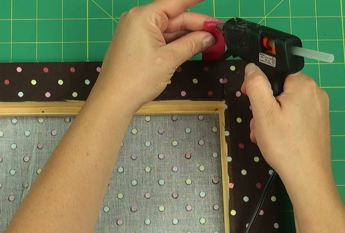
Step 6
Begin at the corner and apply a layer of glue to the end of the ribbon. Attach the ribbon to the inside of the frame. You may also tack a staple or small nail into the ribbon ends to make them more secure.
Begin at the corner and apply a layer of glue to the end of the ribbon. Attach the ribbon to the inside of the frame. You may also tack a staple or small nail into the ribbon ends to make them more secure.
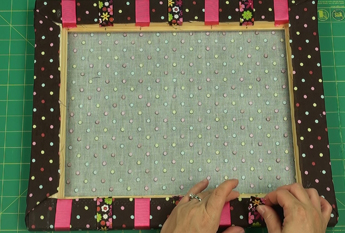
Step 7
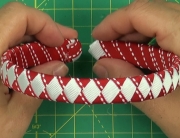
Continue attaching the remaining ribbon strips to the frame. Turn the frame over and ensure that the ribbon looks neat and the strips are even lengths apart.
Continue attaching the remaining ribbon strips to the frame. Turn the frame over and ensure that the ribbon looks neat and the strips are even lengths apart.
Step 8
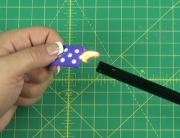
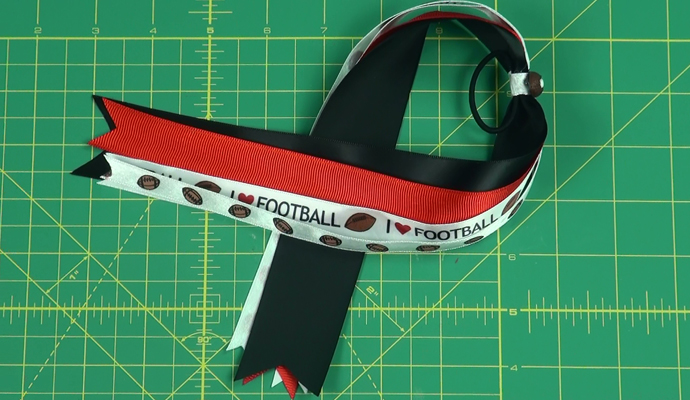
Personalize your bow holder by adding many fun and beautiful embellishments.
Personalize your bow holder by adding many fun and beautiful embellishments.
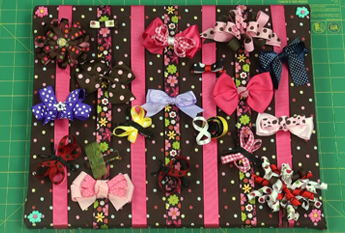
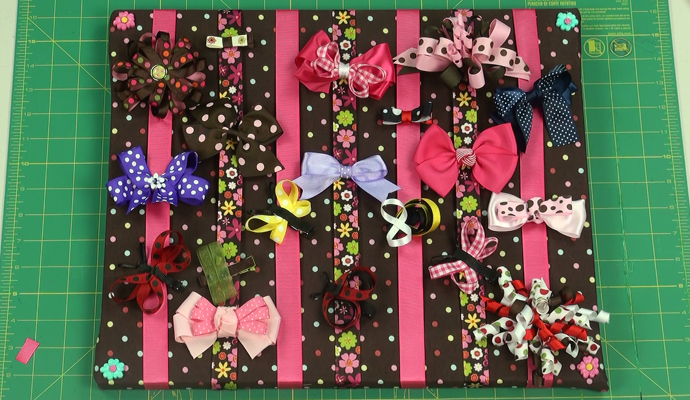
Finished Bow Holder
Congratulations, your bow holder is now finished!
Congratulations, your bow holder is now finished!


Leave A Comment